


Ahhhh, the world of specialty coffee can be filled with complexity, especially when it comes to achieving optimal results that encompass excellent tasting notes, acidity, sweetness, aftertaste, balance, and everything in between! You’re probably wondering how that morning pour-over prepared by your fellow barista tastes so darn good, or how your own brews from home can result in dynamic and exquisite flavors. Well, before coffees are even bagged and sold in retail shops and cafes, roast samples of coffee are graded and cupped by a number of coffee professionals.
From green coffee buyers, roasters, quality control specialists, baristas, and so many more along the supply chain, coffee is assessed and scored by a universal standardized method known as cupping. For green coffee buyers, cupping is essential to deciding what coffees will be purchased to be featured to customers. For roasters, cupping means dialing in a roast profile to ensure the development of the coffee is just right. For quality control specialists, this means making sure every coffee that makes it out of the roastery and into coffee shops and online for purchasing is tasting excellent without any potential defects or funky flavors. For baristas, this could mean expanding one’s palate, getting familiarized with various origins, or even competing at a national level to garner the title of Cup Tasters Champion.
Luckily, this method of scoring or tasting coffee doesn’t have to be limited to just coffee professionals. Below, I’ve provided you with everything you’ll need for a proper cupping, as well as the instructions to do so!
Supplies Needed:
- Coffees (20 grams of each coffee)
- Grinder
- Scale (for measuring coffee weight)
- Timer
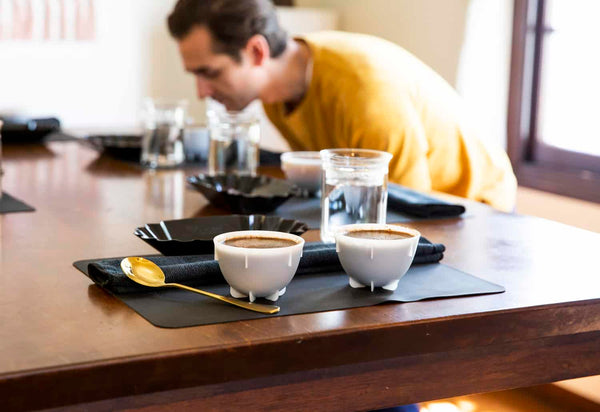
- Cupping bowls (measuring capacity should be 160ml-200ml)
- Rinse cups filled with hot water
- Cupping spoons
- Hot water element like Corvo EKG or Clyde
- Vessel (to collect used coffee grounds)
- Mug or glass (to hold cupping spoons)
Instructions:
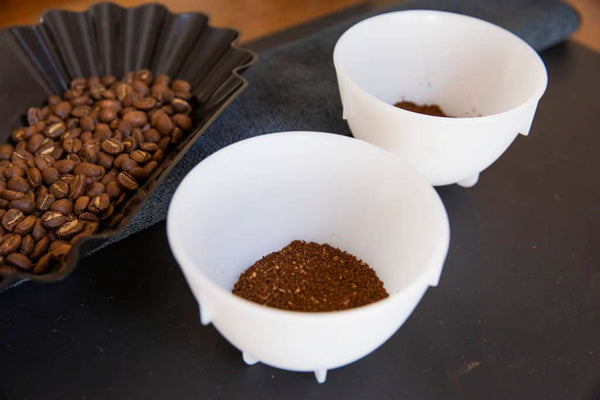
Step 1: Grind out 2 grams of the first coffee to prime the grinder, then follow with grinding the remaining 18 grams of coffee. Follow with this step for each coffee, starting out with 2 grams to ensure no other coffees inside the grinder will impede any flavors. Grind each coffee to a coarse setting, and it should look similar to coarse sea salt.
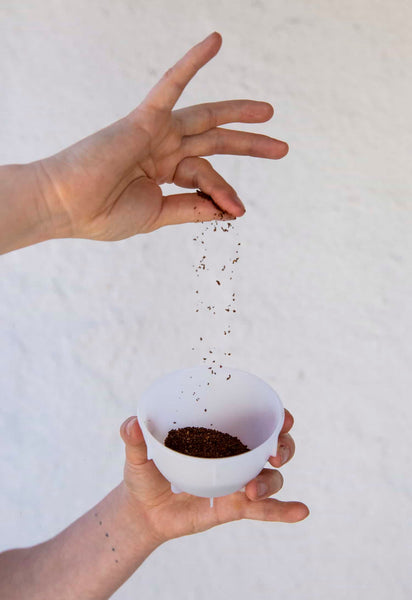
Step 2: Put each coffee sample of 9 grams into designated cupping bowls, using two cupping bowls per sample. Be sure to use two for each sample because you never know if a defect sneaks into a bowl. After all, two is better than one! Assess the dry aroma of each coffee.
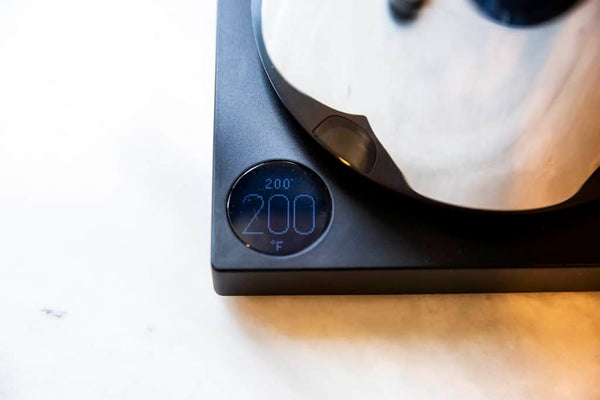
Step 3: Heat your water up to 200 (+,- 2) degrees Fahrenheit.
Step 4: Start the timer, and begin pouring 150 grams of water into each bowl.
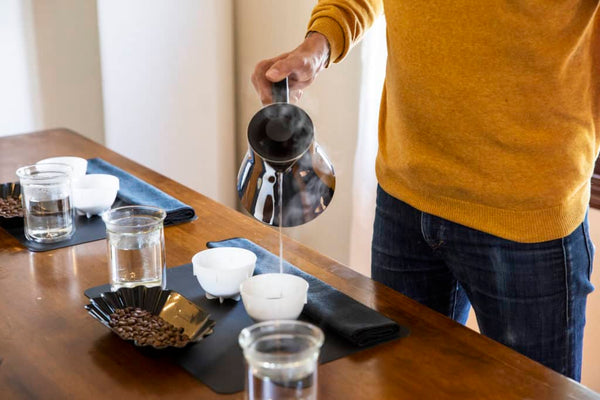
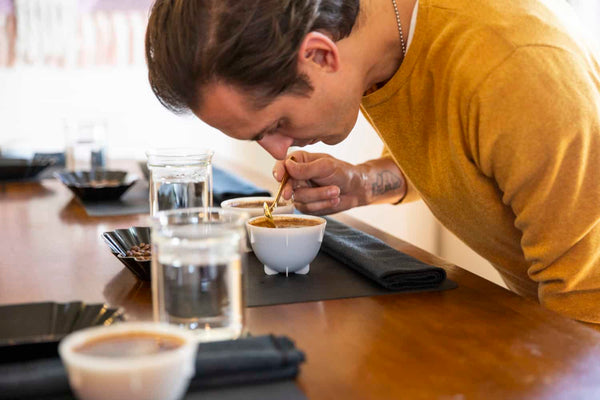
Step 5: Assess the wet aroma of the coffee.
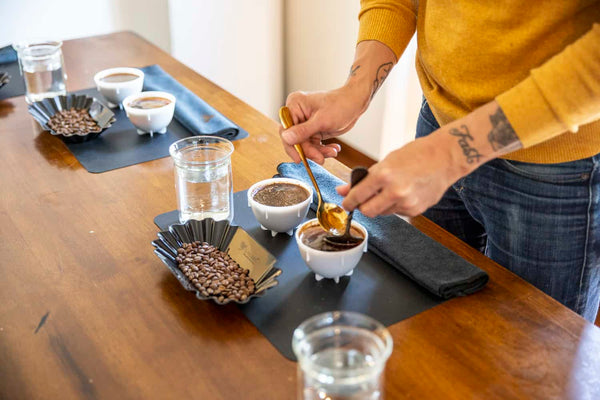
Step 6: At 4 minutes, begin breaking the crust. To do this, use the spoon to push the coffee grounds to the back of the bowl. Be sure to rinse the spoon after breaking the crust in each bowl.
Step 7: Using two spoons, remove the remaining coffee grounds and foam and dump into the spent coffee grounds bowl.
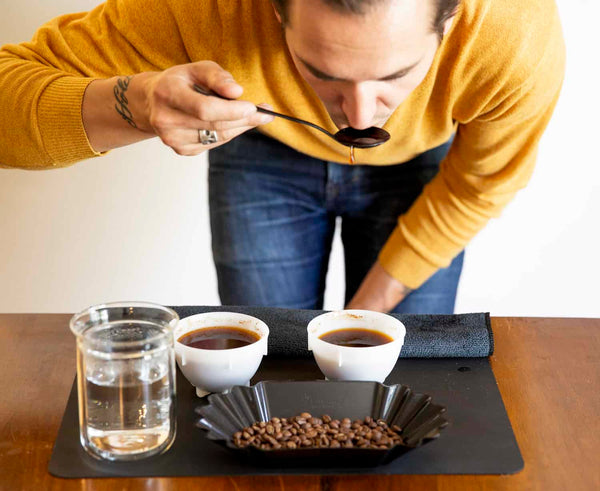
Step 8: Allow the coffee to cool, and at 13-15 minutes, you can begin tasting the coffees.

Step 9: Slurp the coffee in order to allow the coffee to spread along your tongue to taste the full range of flavors. As the coffee cools, you’ll be able to taste different and a larger range in flavor.
Note: After each use of your cupping spoon to taste coffee, be sure to rinse the spoon in the designated rinse cups. This prevents cross-contamination of coffee flavors, plus no one likes a double dipper! 
Taking notes of aromatics, flavor, and other various components of the coffee is a great method to expand your palate, understand the different senses you experience in each coffee, and immerse yourself at the cupping table. Areas to take notes in include dry aromatics, wet aromatics, breaking of the crust, and during the time you taste. Because everyone’s palate varies, you may pick up different characteristics of a coffee than the person next to you. For instance, if a coffee has nutty and chocolate like qualities, it’s probable that your partner picks up notes of caramel, while you may detect flavors of toffee; ranging on a similar spectrum, but tasting different components within that spectrum.
To take a further dive into cupping, Fellow hosts free public cupping every Sunday at 1:00PM in the Playground. Happy cupping!
Emmeline Wang is a coffee blogger and creative writer, out of San Francisco. She advocates for the specialty coffee industry through her personal blog, EmmMeetsCoffee, focusing on featuring up-and-coming roasting companies. Aside from her life consisting of most things coffee, you can find her climbing hard at the crag with a pour-over in hand, or in coffee shops, curating new music playlists and ultimately cherishing the simple pleasures of life.