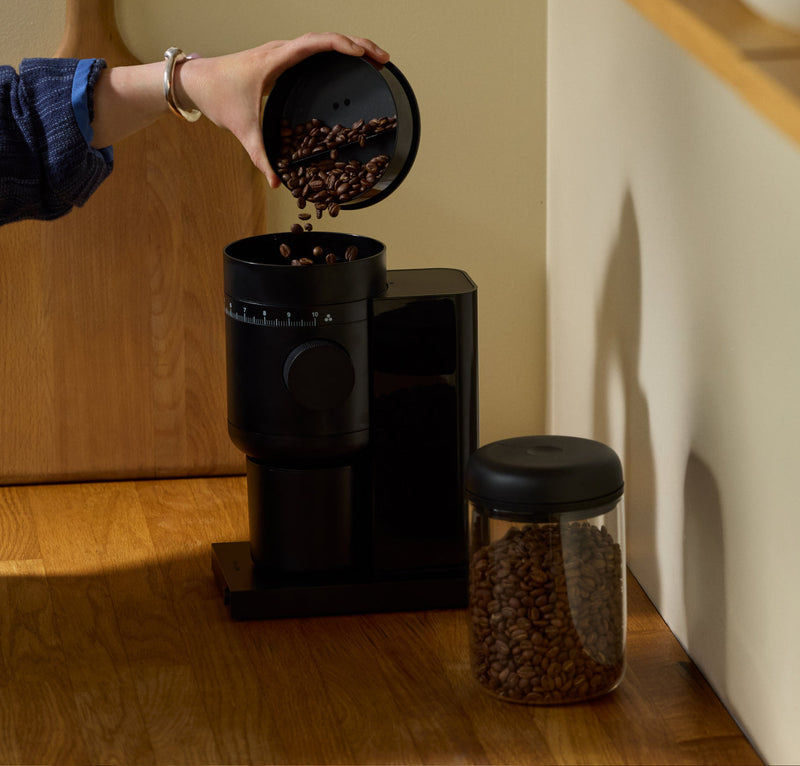
When going through my cupboard one afternoon, I found a half-full bag of coffee that wasn't necessarily fresh enough to enjoy in my pour-over, but too good to simply throw away. Which made me think, what better way to appreciate these beans than with homemade ice cream? Honestly, there’s nothing like it. It’s easy and yummy enough to enjoy while scrolling endlessly through Instagram, but decadent enough to impress your friends with at a dinner party— whenever we can get back to those safely. Get those partial bags cleaned out of the kitchen, this recipe is irresistible.
When it comes to ice cream, there are two traditional methods. One is a custard base, made with egg, and one without eggs. We are going with the custard base for this recipe, which yields a more luscious and decadent ice cream.

A few things before we get into the recipe:
• I recommend weighing out each ingredient using a kitchen scale, This will ensure that your ice cream is as consistent as possible.
• I recommend whole milk and cream for this recipe. It has not been tested with other types of milk.
• Salt will enhance the flavors in this ice cream. I am using Diamond Crystal Kosher Salt, which has lower salinity when compared to other salts. If you're using Morton's, halve the amount, if using iodized just a small pinch.
• I use refined white sugar in this recipe. You can substitute with other sugars, but this recipe has not been tested with different sugar types.
• I often prefer the taste of a lighter roast when making this ice cream, but this is dependent on your taste. Just make sure to steep the coffee for a shorter time (test the taste after 30 minutes) when using darker beans. You can taste the mixture as it steeps but note that the flavors and sweetness are less prominent when cold.

Equipment:
• Kitchen scale or measuring cups
• Measuring spoons
• Large saucepan
• Ice cream machine (any machine you have will work—from hand-cranked to mixer attachments or a standalone machine)
Ingredients
• 490 grams (2 cups) of whole milk
• 125 grams of sugar (½ cup plus 1 tablespoon)
• 150 grams of whole coffee beans (1 ⅓ cup)
• 1 teaspoon of Diamond Crystal Kosher salt (adjust based on the salinity of your salt)
• 462 grams (2 cups) of heavy cream
• 5 large egg yolks
• 1/4 teaspoon of vanilla extract
• 1/4 teaspoon finely ground coffee
Directions

- In a medium saucepan, bring together the whole coffee beans, sugar, salt, one cup (245 g) of milk, and one cup (231 g) of cream. Mix and make sure all the ingredients are incorporated, the beans will float to the top (that's okay!), set it on medium heat, and bring it to a simmer. The mixture should be fragrant, and all of the sugar dissolved.
- Keep the remaining milk and cream in the fridge until needed.
-
Remove pan from heat and let the coffee beans steep in the warm mixture for 1 hour. Let it sit for longer if you like a deeper coffee flavor. Typically, the lighter the beans, steep for longer. You can taste the liquid to get an idea of the flavor. Keep in mind, when cold, the ice cream will taste lighter in flavor and sweetness.

-
While the beans steep, separate your yolks in a separate bowl. Feel free to save the whites for an omelet or whip them into a meringue to accompany your ice cream.

- Once the coffee and milk mixture has cooled down to a lukewarm temperature (you should be able to stick your finger in the mixture comfortably). Strain out the beans with a slotted spoon (a regular spoon works too, just make sure you’re not taking much liquid out) and toss them out.
-
Get vanilla extract, cold milk and cream out of the fridge and mix them in with the lukewarm mixture to bring it down to the temperature of the ice cream base. It should be lukewarm or cooler.

-
Add your yolks to the mixture and whisk it well until all of the yolks are incorporated evenly.

-
Place the pot back on your burner at medium-low heat and stir constantly until the base coats the back of your spoon. Make sure you're stirring the bottom and edges of the pan to prevent any scorching. Run your finger over the back of the spoon—it will leave a trail if it’s ready.

-
Transfer the ice cream base from the pot to a heat-proof bowl and place a plastic film over it, touching the top of the ice cream base. This prevents skin from forming on the top. Ideally, let the mixture cure overnight in your fridge. If you don’t have time to set it overnight, you can also set it for 8 hours.

- When ready, churn according to the instructions of your ice cream machine.

The finished product!
Mix-Ins
Much like having a Megan Thee Stallion feature on a song, ice cream can be a whole lot better when you add some stars to the mix. Here are some delicious options:
• Chocolate-covered espresso beans for that extra caffeine boost
• Brownies or chocolate chips for our chocoholics out there
• Your favorite granola, maybe something with a touch of cinnamon
• Crumble in some of your favorite cookies
• Got some cereal? Toss it in.
• Nuts? I go nuts with it.
There's no wrong way to enjoy this, so long as you like the taste of your combos. When you make this ice cream please share it to your social channels. Tag @FellowProducts and @alisson. We would love to see your creations!
If you have questions, you can always reach me at @alisson on Instagram.