To brew or not to brew? That is literally never the question when a coffee station of this caliber greets you in the morning! From pegboards to plants to pottery, we asked the coffee lovers behind some of the best home brew bars in the business to let us in on their design processes.
Ready to finally nurture your kettle's habitat? Now that is the question.
The MREAM (Mugs Rule Everything Around Me)

Brew bar designer: @jillhoff
Tips and tricks: My brew bar is centered around this custom wall shelf I had built to house and display my (growing) mug collection. I am obsessed with pretty pottery and can’t resist beautiful mugs, so naturally I don’t want to hide them away behind cupboard doors. I love using open shelving to display my mugs and coffee gear, keeping my favorite things out in the open as a feature! My collection is always rotating and making room for new pieces. Not only is this set-up something I love to look at, but it keeps everything in my reach!
One tip for creating a similar look is to display pieces that are cohesive with each other visually, and then to hide anything else away in concealed storage. (Fact: there is a drawer full of less beautiful but very practical items I use daily tucked away in a drawer below). Another tip is to keep your background neutral so that your mugs and coffee equipment look like little pieces of art. Especially with so many little items, a neutral background keeps it clean, simple, and it won’t detract from your collection.
The Greenhouse

Brew bar designer: @elplantapapi
Tips and tricks: The idea with this bar was something living and breathing. Making coffee has become one of my favorite morning rituals, and I wanted to feel almost hugged by the plants while I’m there. Plants give so much texture and layers to a room. I’d definitely recommend going with the more hardy low light, low maintenance plants like the spider, pothos and zz...because no one feels good when a plant dies on them! I’m a big fan of all the Fellow products, especially the Stagg EKG with walnut because it's gorgeous all on its own.
The Pegboard

Brew bar designer: @jayeshvats
Tips and tricks: Pegboards work well if you don’t have a lot of space because they allow you to keep your set-up flexible. The pegboards and the hooks I used are from Ikea, and they were quite easy to set up. The good thing about Ikea’s pegboard is that it’s convenient to get all the different attachments in one place. However, you’d be limited to their range of attachments as their pegboard holes are not standard and hence, don’t work well with generic attachments. A hack I recently discovered was placing coasters on the long hooks to add more stability. Without the coasters, I wouldn’t have been able to keep Atmos Vacuum Canisters on the board.
The Minimalist

Brew bar designer: @reeniekarim
Tips and tricks: I would say... Less is always more! Coffee spaces can get cramped fast with accessories that don’t actually get used. Choose your functional items (shelves, kettles, etc) carefully so that they’re designed to look like decor itself. We like that it doesn’t look out of place with the rest of our apartment with “coffee cart” decor.
The Organized Maximalist
Brew bar designer: @optikalblitz
Tips and tricks: For my 2020 New Year’s resolution, I promised myself I would more deeply explore coffee from an historical and experiential angle. I planned to attend cupping sessions, my first coffee expo, and even learn how to brew espresso at home. With 2020 being what it was, it forced me to take that journey solo, and my modest pour-over corner in my kitchen quickly grew into what you see today. I had a big kitchen island that was being used as basically a junk drawer, so I decided to repurpose it as a thoughtful centerpiece of my kitchen for all things coffee. Going from a distressed cream white to a matte black with a walnut colored top was the best decision I could have made. I actually finished the paint job the day my Kickstarter-backed Ode Brew Grinder showed up. I’m pretty sure this is my favorite spot in the house.
A biggest tip for anyone looking to up their brew station game: have a place for everything! Even when I had less than a third of the space I have now, I spent lots of time optimizing where everything would be during the brewing process. Having everything arranged to be able to work from “left to right” (I’m a lefty) really helped me to organize my station and process, so things don’t get knocked over or feel awkward to use.
The Can I Take Your Order?

Brew bar designer: @robbyschlegel
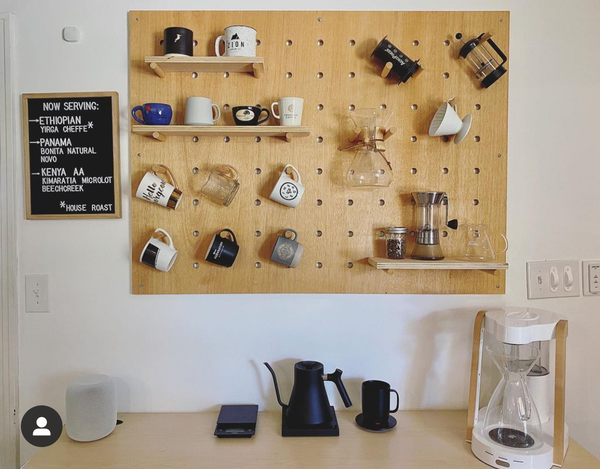
Tips and tricks: With the coffee menu sign and hanging mugs, my inspiration was a café. It's a dream of mine to open one someday! I made the pegboard myself and hung it with industrial wall anchors and bolts in the far corners. The board is 3/4” furniture-grade plywood. I measured out the holes using a yard stick and woodworking square. The holes were drilled with a good quality 3/4” forstner bit (very important to keep board from splitting or having blemishes around the holes). Then I used 3/4” wooden dowels cut to about 6” in length for the pegs and shelf supports. All of the wood was then lightly sanded, and I use Beeswax wood oil on the surface annually to keep the wood protected and looking fresh while maintaining the natural unvarnished look.
The Just Roll With It

Brew bar designer: @eriklauchie
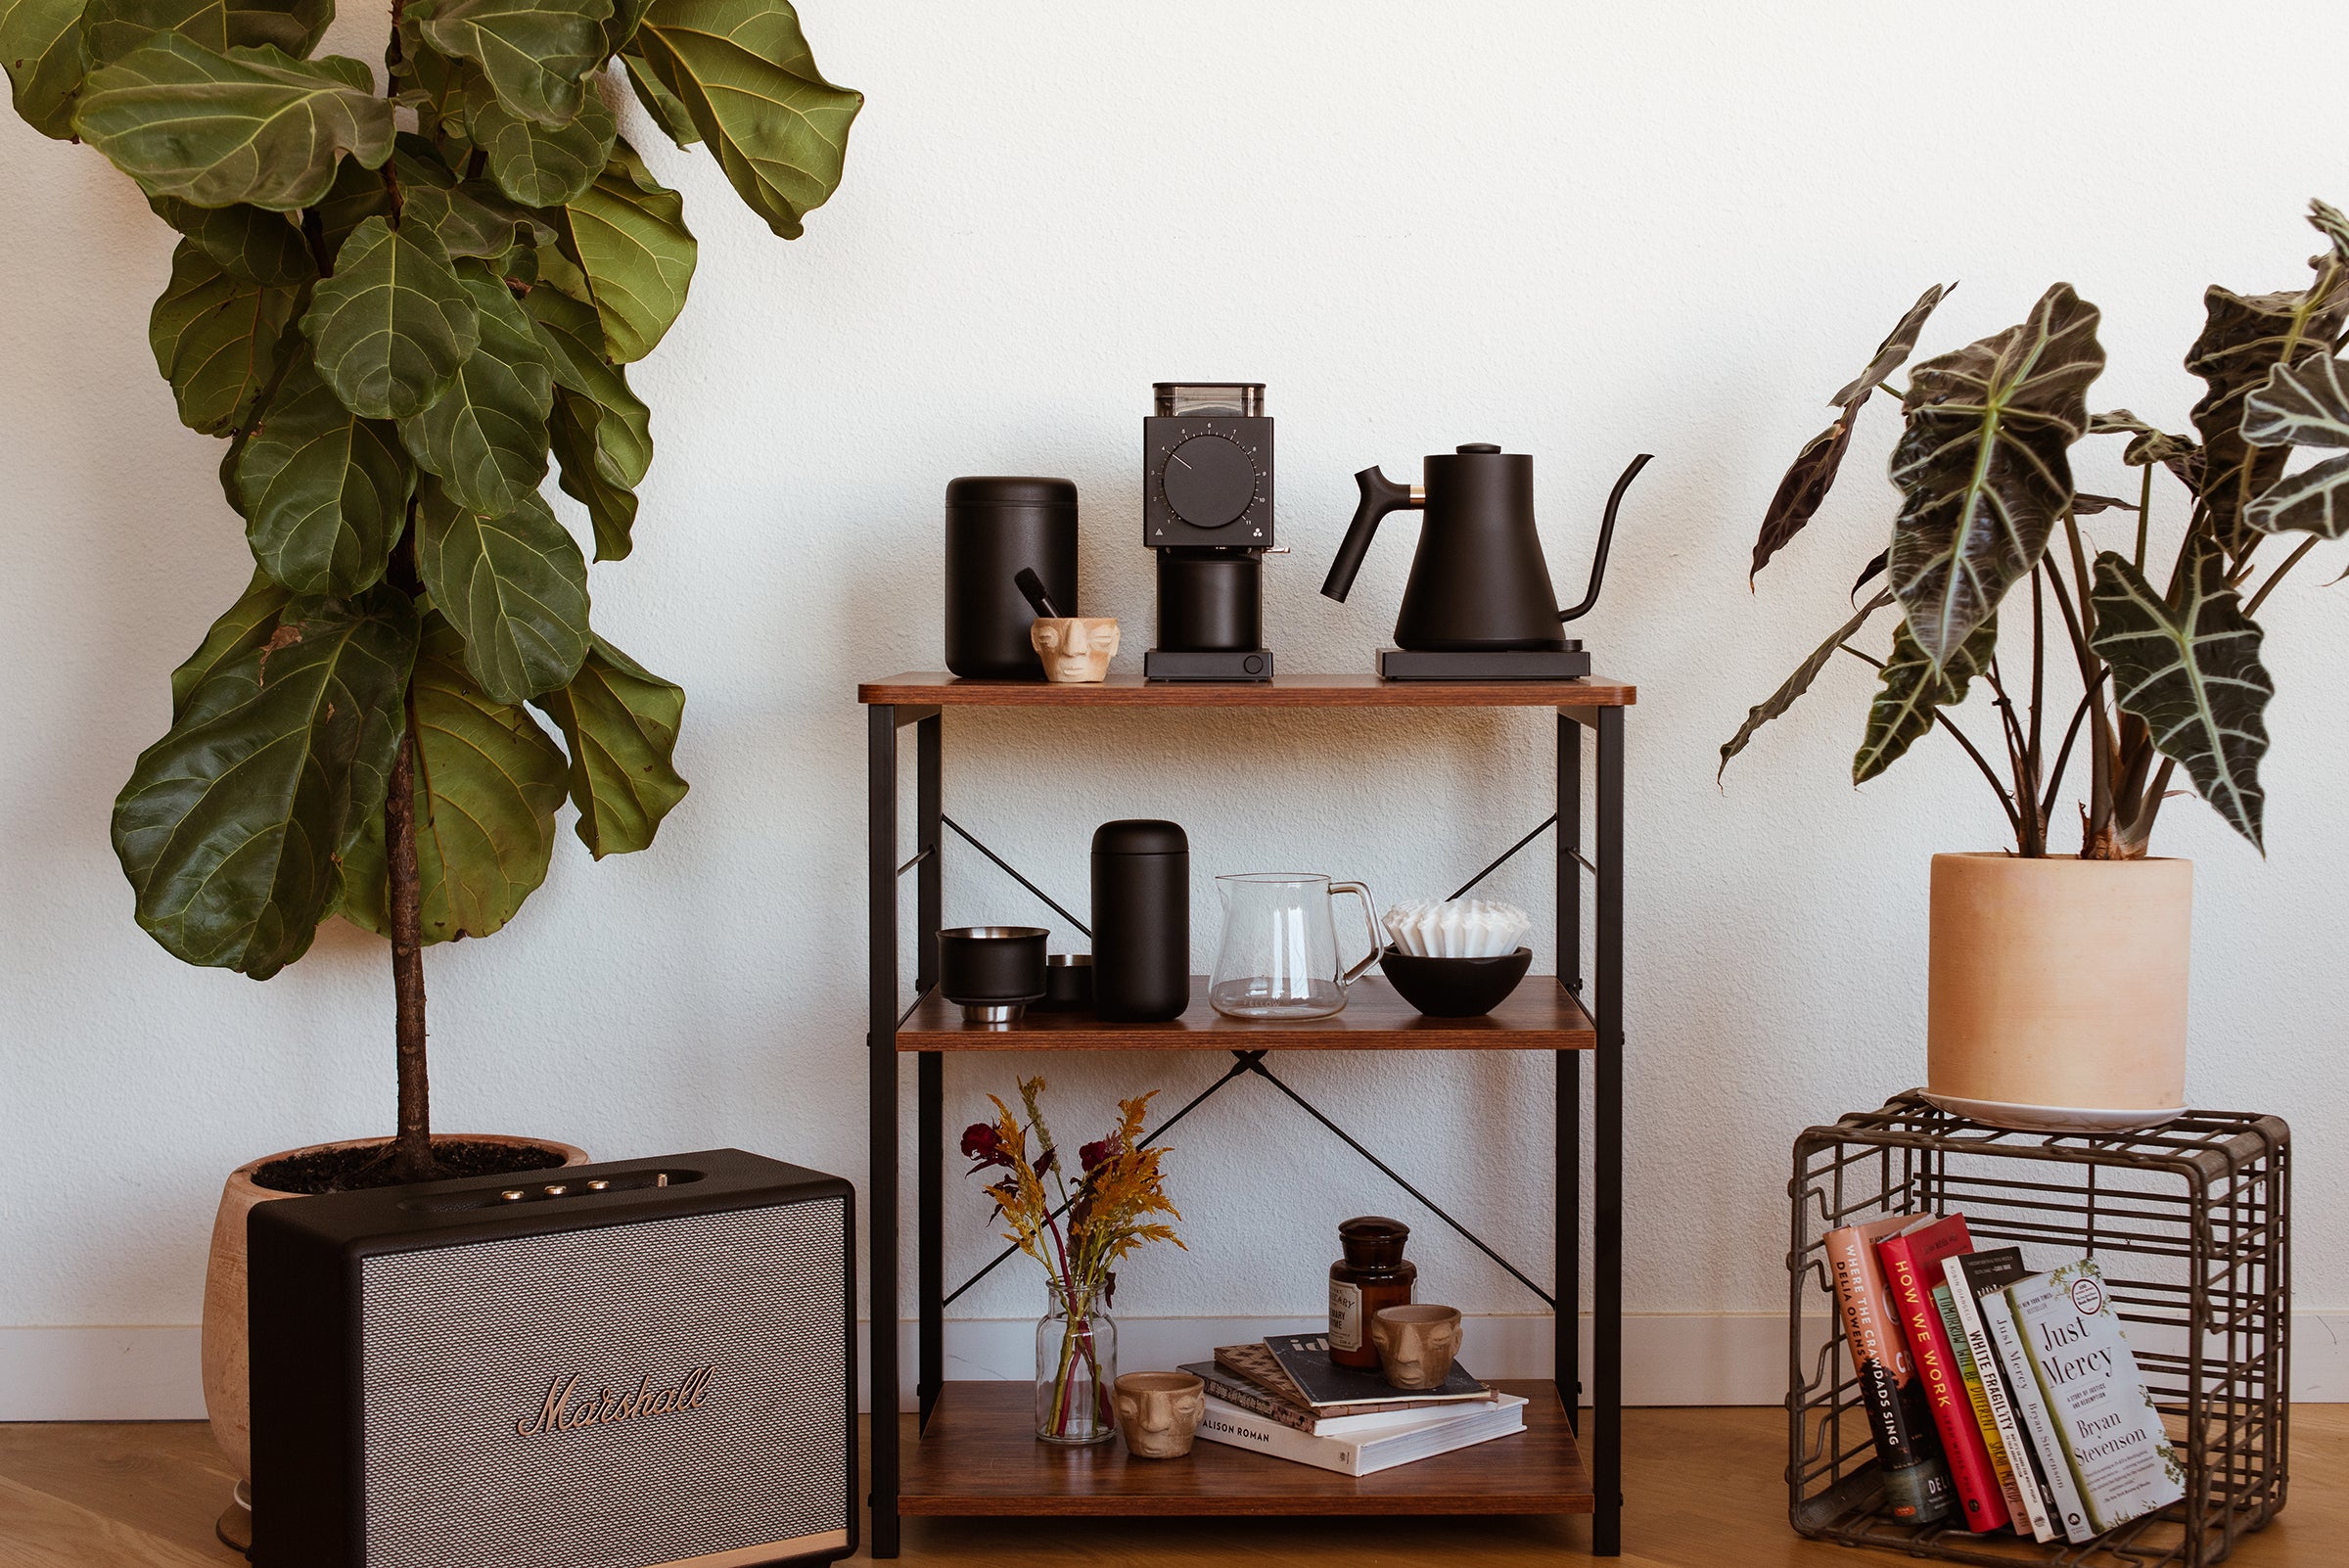
Tips and tricks: Find what works well for your space. My wife and I were originally going to go with a bar table but decided a rolling cart would suit our smaller apartment better because we can roll it into other rooms if needed. We also wanted the monochromatic look so that it could have its own aesthetic. It makes me feel like we have a self-serve pour-over coffee shop in our living room.


