How to make pour-over coffee
Whether you're just starting out or just want to pick up a few tips, we've put together the ultimate guide to our favorite brew method.
Why choose to make coffee as pour-over?
Pour-over is perfect if you're brewing for one or two, you have a few minutes to focus, and you've got a fresh bag of coffee that you want to enjoy every last note of.
What supplies you'll need

Gooseneck
Temperature control and a slow pour are key for perfectly even extraction.

Dripper
These come in many shapes and sizes, but we love a flat-bottomed dripper.

Filters
Trust us, you don't want to run out of these. A paper towel isn't going to cut it.
Scale
This is vital to get the perfect coffee-to-water ratio, time your pours, and follow recipes.
Coffee
Light-to-medium roasted coffee is generally best suited for pour-over.

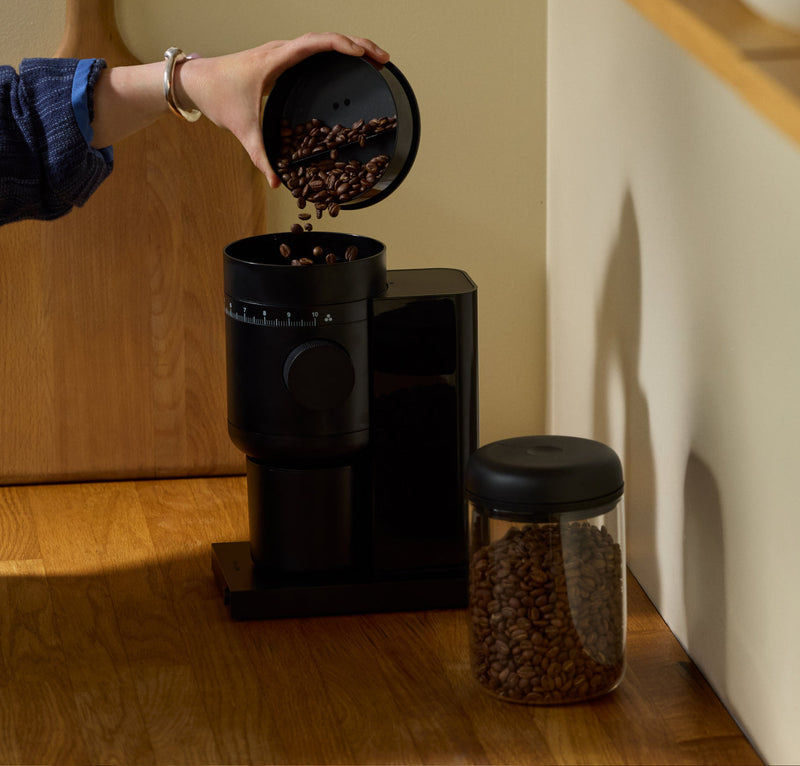
Grinder
We always recommend using freshly ground beans with a burr grinder.

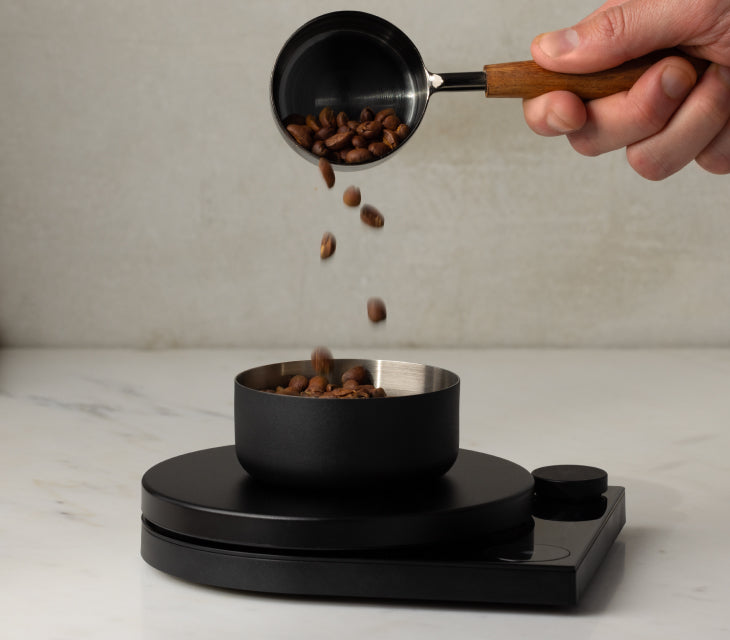
1. Measure and grind coffee
Measure out 22 g of coffee beans and grind them on a medium setting. We suggest starting with setting 5 on Ode with Gen 2 Burrs, which is about 4 on Ode with Gen 1 Burrs, a 6 on Ode + SSP burrs, and right in the middle of the pour-over range on Opus.

2. Heat water and rinse the filter
Heat water to 205°F and rinse your filter before putting your coffee grounds in. Then place your dripper and vessel onto your scale and tare it to zero.

3. Begin with a bloom
Start a timer and pour water in concentric circles, fully saturating your coffee grounds with double the amount of water as coffee you used, and allow about 35 seconds for the bloom. This is when you may notice your coffee bed bubble and release carbon dioxide, a byproduct of roasting that can sour the taste of your brew.

4. Continue pouring in 4 stages
After the bloom, pour water in even concentric circles until your total weight reaches 150 g. Wait until the water is about 1 inch above the bed of grounds, then pour to 250 g. Wait once more, and then pour to a finishing weight of 350 g. The total brew time varies, but aim for somewhere between or close to 3:00-4:00 minutes.

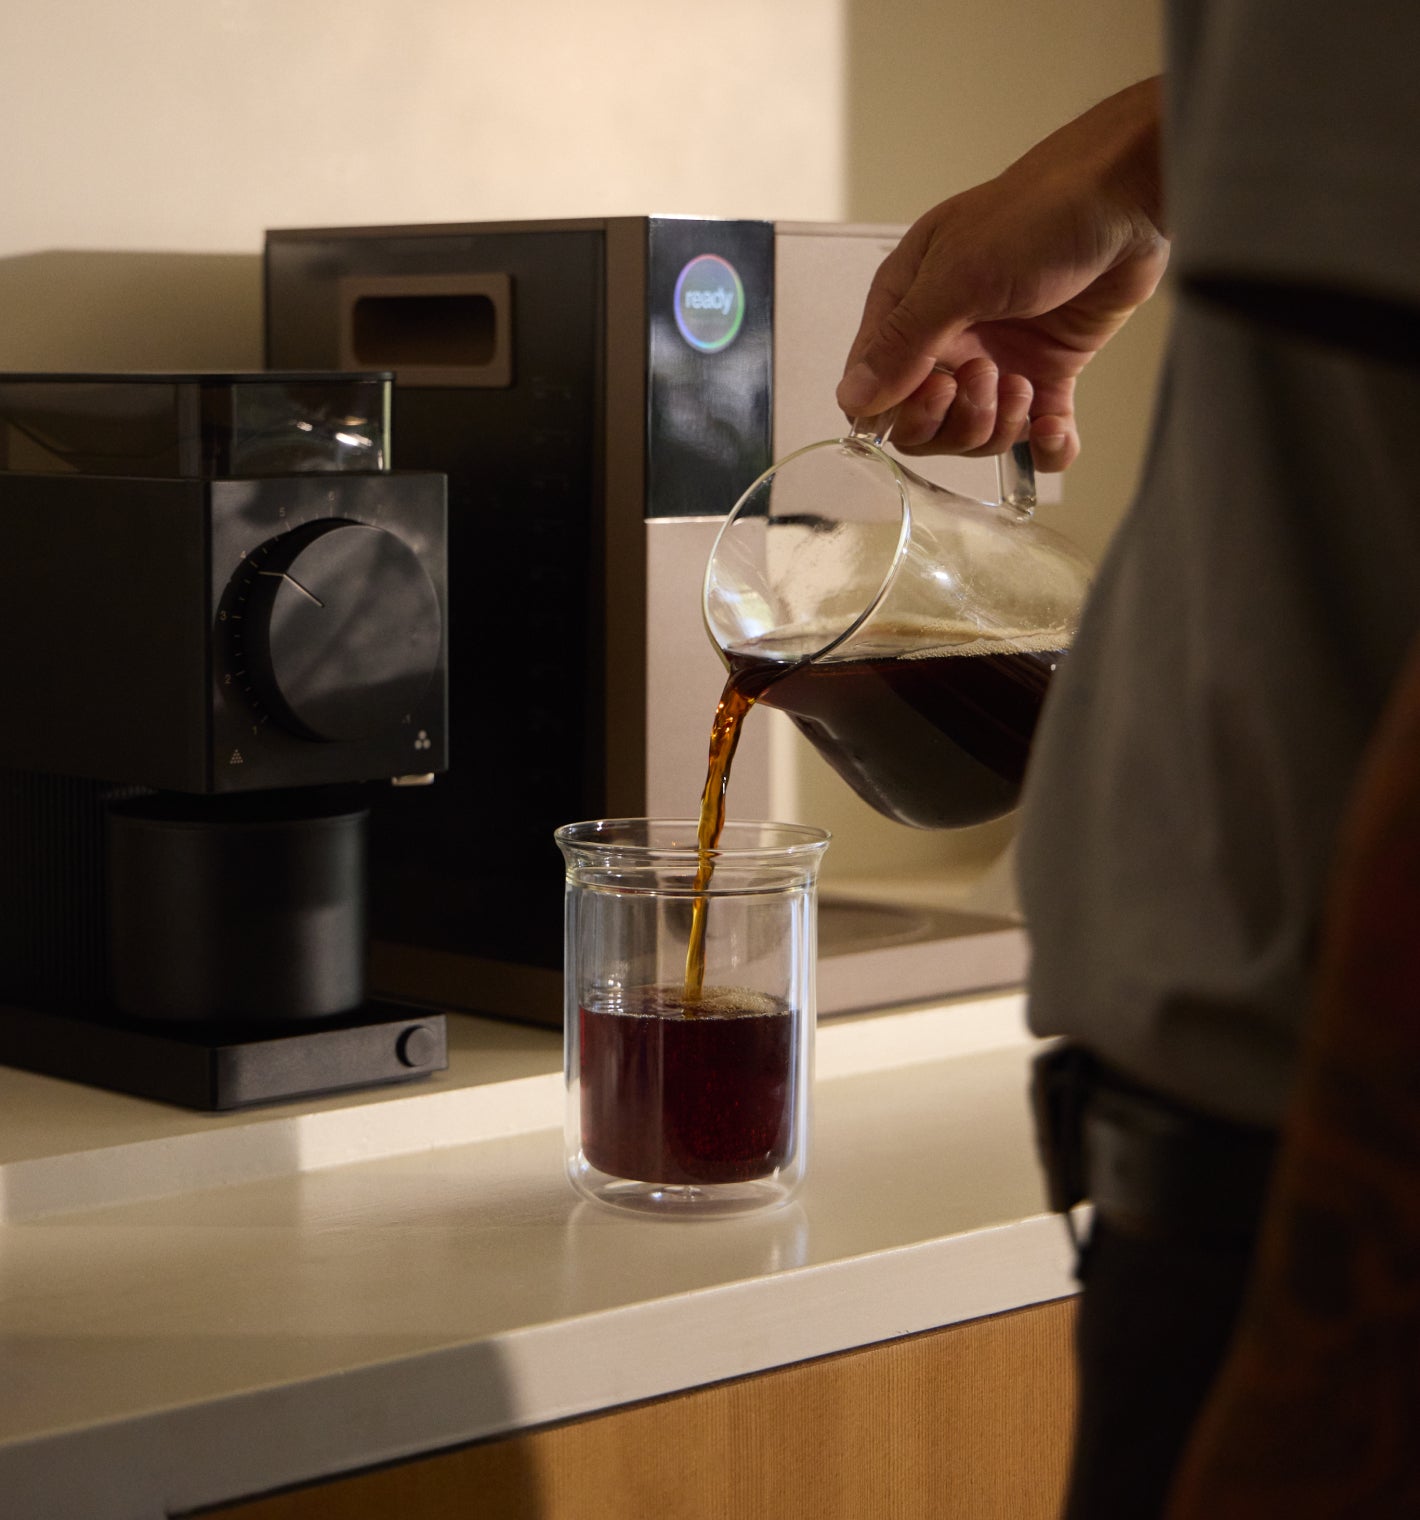
5. Sip, savor, and experiment!
Decant your coffee into your favorite cup and enjoy! Look out for how the coffee presents itself in the cup. Is it bright and fruity? Is it mellow and delicate? We recommend using this recipe as a starting point, and experimenting to suit the coffee you're brewing with and find the flavors and textures you enjoy. You can adjust the grind size and water temperature, and try agitating the grounds by swirling the dripper to see what new nuances you can tease out of the coffee.
Watch our pour-over tutorial
The beautiful process in action, by certified Q Grader Hailie.
FAQ
How do I pick the right coffee beans?
Coffee is very subjective. Everyone has their own preferences, and none are incorrect! However, we suggest starting with flavor notes that sound appealing to you. Experiment with flavor notes you're familiar with, and start to take note of the coffees you like: their origin and processing method (washed, honey, natural, maybe even anaerobic?).
How do I know what setting to grind beans at?
If you're an Ode or Opus user, there should be ranges offered for pour-over on the underside of your hopper lid! In any case, this is a bit of trial and error. We would recommend starting with a medium setting. Adjust your setting to be coarser if your final cup is too bold, chalky, or bitter. Adjust your setting to be finer if your coffee is too sour, watery, or lacking in body aka "weak". In the coffee world, this process is called "dialing in".
One way to help you dial in your coffee quickly is what we call the "Goldilocks method". Start by grinding one dose of coffee at your normal setting, one dose a good deal coarser, and one dose a good deal finer. Brew all three with your standard technique, allow them to cool, and taste them side-by-side. You'll find it's easier to taste the differences between the much finer and much coarser grind, and can adjust your regular grind setting slightly in either direction depending on your preferences. Let the extremes inform you of the flavor qualities you might like!
What do I do if my coffee tastes sour or bitter?
If your coffee tastes sour, try making your grind setting a bit finer! If your coffee tastes bitter, try making your grind setting a little coarser! Overly sour or watery flavor in coffee often denotes what we call "under extraction", or not pulling enough flavor from the coffee. Overly bitter, drying, or chalky flavor in coffee often denotes what we call "over extraction", or pulling too much flavor from the coffee.
Why would I do a pour-over over batch brew (auto-drip) coffee?
With pour-over, you have acute control over the outcome of your cup. Because you're pouring slowly and intentionally and soaking all grounds evenly, you can ensure the extraction of flavor from all around the bed of grounds is even. Auto-drip machines don't often offer that degree of control, therefore offering a cup that's less dialed to the individual coffee.
Perfect coffees for pour-over
Ready to try your hand? Discover our curated collection of coffees, ideal for pour-over.