Great coffee begins long before water meets the grounds; it starts with a clean slate. Learning how to clean a coffee grinder is the easiest way to protect the delicate flavor notes of your favorite beans from being overshadowed by old coffee grounds and oils.
Coffee grinders can be either blade or burr models, and cleaning methods vary depending on the type. Consult your grinder's manual for model-specific cleaning instructions, especially for disassembling burrs or maintaining blades.
Instead of viewing maintenance as an interruption to your morning, consider it an extension of the brewing ritual itself. Taking a few moments to clear the path for fresh coffee ensures that every pour-over or espresso shot you pull reflects the true characteristics of your current coffee. Keeping your equipment pristine means your setup is always reliable, precise, and ready for tomorrow’s cup.
Key takeaways
- A clean coffee grinder helps fresh beans taste more consistent and accurate to the flavor profile.
- Brush out loose grounds regularly and deep clean every 1–3 months, depending on use.
- If you use your grinder daily or multiple times per day, do a quick, basic cleaning once a day to maintain optimal performance.
- Coffee oils and grounds can build up over time, getting stuck in and sometimes clogging grinders.
- Always avoid water on motors. For cleaning burrs and internal analog parts, make sure to dry completely before reassembling.
- Avoid water on burrs, motors, and internal parts unless the manufacturer says it’s safe.
Why do you need to clean your coffee grinder?

Every coffee bean contains natural oils that contribute to the overall flavor in your cup. While these oils create the rich body and flavor in your cup, they also cling to the inside of your equipment. Coffee oils and fine grounds can stick to the machined edges of the burrs and other internal parts, leading to buildup. Over time, these lingering coffee oils oxidize and build up. If left untouched, old grounds and oily residues can quickly make fresh coffee taste stale, bitter, or muddy.
Beyond the oils, fine coffee particles naturally collect in hidden areas of your grinder. Ground coffee contains some degree of moisture, which can cause clumping and static, making cleaning even more important. This dust settles in the discharge chute, around the burrs, and inside the catch cup. When stale fines or leftovers mix into your freshly ground coffee, they can negatively affect the flavor of your next cup, masking the clarity and nuance of your favorite coffee.
Regular cleaning also improves the mechanical consistency of your grinder. Removing buildup ensures a smoother workflow, reduces static, and helps the motor run efficiently without straining against trapped debris.
How often should you clean your grinder?
Figuring out exactly how often to clean a coffee grinder depends on your specific routine and the types of beans you prefer. A daily espresso drinker will need a different schedule than someone who brews a single pour-over on Sunday mornings. For best results, brush out residual grounds daily, clean the hopper every week, and perform a deep cleaning once a month to maintain your grinder.
If you use your grinder multiple times a day or grind oily beans, you may need to clean it more frequently than the general guidelines below.
| Use Case |
Suggested Cleaning Frequency |
|
Occasional home use |
Light clean every few uses; deep clean every 2–3 months |
|
Daily coffee drinker |
Light clean weekly; deep clean every 1–2 months |
|
Espresso grinding |
Clean more often due to fine grounds and oils, i.e. once or twice per month |
|
Dark or oily beans |
Clean more frequently, i.e. once or twice per month |
|
Switching coffees often |
Quick clean between beans and purge with a little bit of the new coffee before grinding your dose. |
|
Coffee tastes off or grinder is stalling |
Clean immediately |
Tools You’ll Need to Clean a Coffee Grinder
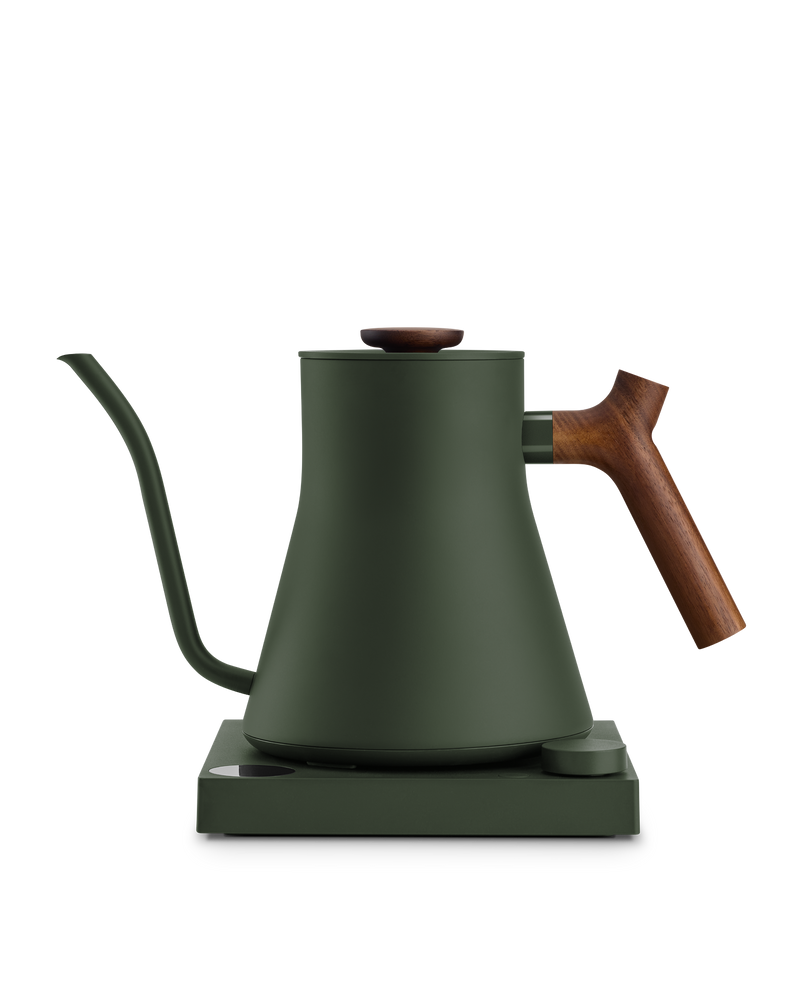
Every tool in your coffee ritual requires a specific kind of care. While you might use descaling concentrate to flush the water path of your Stagg EKG or Espresso Series 1, your grinder needs a completely dry approach to manage lingering oils and fine grounds. Before you start, gather a few simple items:
- Stiff-bristled brush: Perfect for gently dislodging grounds from the burrs and exit chute.
- Grinder cleaning tablets: A safe, tool-free way to absorb stubborn coffee oils and push out trapped fines.
- A microfiber cloth: Ideal for wiping down the hopper and keeping the rest of your brewing station clean.
- A dry towel: For completely drying or dusting any part before they go back into the grinder.
- A small vacuum or silicone air blower (optional): Highly effective for pulling fine particles out of tight internal crevices without disassembling the entire unit.
- Warm, soapy water: Reserved only for washing approved, fully removable parts like your catch cup or hopper.
Step-by-Step Coffee Grinder Cleaning Guide

Taking apart your coffee gear might feel a bit intimidating at first, but routine grinder maintenance is a necessary process. The goal is simply to gently remove trapped fines and lingering oils without risking damage to the motor or burrs. Set aside a few minutes, clear a space on your counter, and follow this basic routine to reset your equipment.
Keep one strict rule in mind: water should stay away from burrs, motors, and internal parts unless the manufacturer explicitly says it is safe.
Step 1: Unplug and Empty the Grinder
Safety always comes first. Disconnect the grinder from its power source before you begin. Remove any remaining beans from the hopper, clearing out the visible brewing area entirely.
Step 2: Brush Out Loose Grounds
Take your stiff brush and gently clear away old coffee dust. If you don't have a grinder brush, a toothbrush works well for cleaning the burrs and the teeth. Focus on the hopper, the exit chute, the catch area, and the accessible burr area, making sure to remove any oils and grounds that tend to stick to the teeth of the burrs. A vacuum cleaner can also be used here to gently suction out fine particles trapped in the crevices. Avoid using metal brushes or abrasive scourers on the burrs, as they can create microscopic scratches that trap oils.
Step 3: Wipe Removable Parts
Check your user manual to confirm which parts are safe to wash, and whether any removable components, such as the hopper or catch cup, are dishwasher-safe before placing them in the dishwasher. Clean these approved removable components using warm, soapy water. Be sure to dry all parts thoroughly with a towel before reassembling, as any moisture left can lead to rust forming on the burrs or other metal parts.
Step 4: Use Grinder Cleaning Tablets
When you notice a buildup of oils or sticky residue, grinder cleaning tablets are the safest solution. These food-safe pellets absorb oils and push out stubborn grounds. Follow the package instructions, which usually involve running a small handful through the machine.
Step 5: Reassemble, Calibrate (if needed), and Run a Small Purge
Once everything is dry and reassembled, make sure the upper burr and top burr are properly seated to maintain grind size consistency. Next, grind a small amount of fresh coffee beans to purge the system; this step helps ensure your next cup is optimal for drinking. We recommend discarding these grounds. We also recommend quickly recalibrating your grinder, as the distance between your burrs at any given setting could have changed, affecting the grind sizes at each setting.
Step 6: Repeat Regularly Based on Use
Make a light brushing part of your weekly routine, and schedule a deeper cleaning every one to three months. Regular cleaning keeps your grinder and its machinery in top condition, ensuring consistent performance and extending the life of your equipment. Consistency prevents heavy buildup and keeps the process quick and easy.
Final Tips for Keeping Your Grinder Fresh
Good maintenance starts before you grind. Storing your beans in an airtight container, like an Atmos Vacuum Canister, prevents them from leaving unnecessary oils sitting in your hopper. When you do grind, quickly brushing away loose grounds prevents stale buildup from taking hold. Whether you use the Opus Conical Burr Grinder to dial in your morning espresso or the Ode Brew Grinder for a precise pour-over, a clean grinder ensures every carefully chosen coffee tastes more like itself. By making these simple, tactile habits part of your routine, you protect your equipment and guarantee your next cup is exactly what you intended.
Frequently Asked Questions
Do I need to clean a brand new coffee grinder before using it?
Yes, it is a good practice to run a small amount of coffee through a new grinder before making your first brew. Manufacturers often test grinders at the factory to ensure quality, which can leave trace amounts of coffee dust behind. Purging as much coffee as possible, ideally up to 1 lb, clears out any factory residue and seasons the burrs for your setup.
Is cleaning a coffee grinder the same as descaling?
No. Grinder cleaning removes stale coffee grounds and organic oils from your burrs and hoppers. Descaling removes inorganic mineral buildup, or limescale, from the internal water lines of espresso machines, kettles, etc.
Do grinder cleaning tablets replace manual cleaning?
Not completely. Tablets are excellent for absorbing oils and clearing internal residue, but you should still manually brush out loose grounds and wipe down approved removable parts on a regular basis.